Infrared thermometers are used across many industries to accurately and consistently test temperature in various scenarios. According to the National Association of Testing Authorities, a radiation thermometer (including visible and infrared pyrometers) should be calibrated upon first receiving the unit. That initial test should also include sufficient points to confirm linearity. After the initial calibration, a check of the technology should happen every 12 months, while calibration of the unit should take place every 2 years.
Preparation
There are a few elements to consider and steps to take before calibration to ensure an accurate result. The first aspect of calibration is to find the specs of the unit provided by the manufacturer. TESTO infrared thermometer units always come with a manual that provides the following information used to authenticate calibration:
- Emissivity estimation of the calibration source
- Field-of-view of the infrared thermometer
These data points will be used as references when reporting the results either to external parties or as part of an internal audit for records and to maintain consistency in future tests.
It's also important to know the specs on the radiation source you'll be using to test the readings. A testable source for calibrating infrared thermometers is called a black body and often comes as either a flat plate or an IR cavity. The IR cavity has the radiation source inset, while the flat plate does not.
Knowing the temperature gradients on the radiation source is critical, along with the calibration temperature – which can be found in the units specs and is measured as a tolerance of plus or minus certain units.
Infrared thermometers often utilise a laser pointer used to help the user gauge their directional readings. However, it's important to make sure the alignment of the infrared thermometer is up to date, as an outdated alignment could throw off readings.
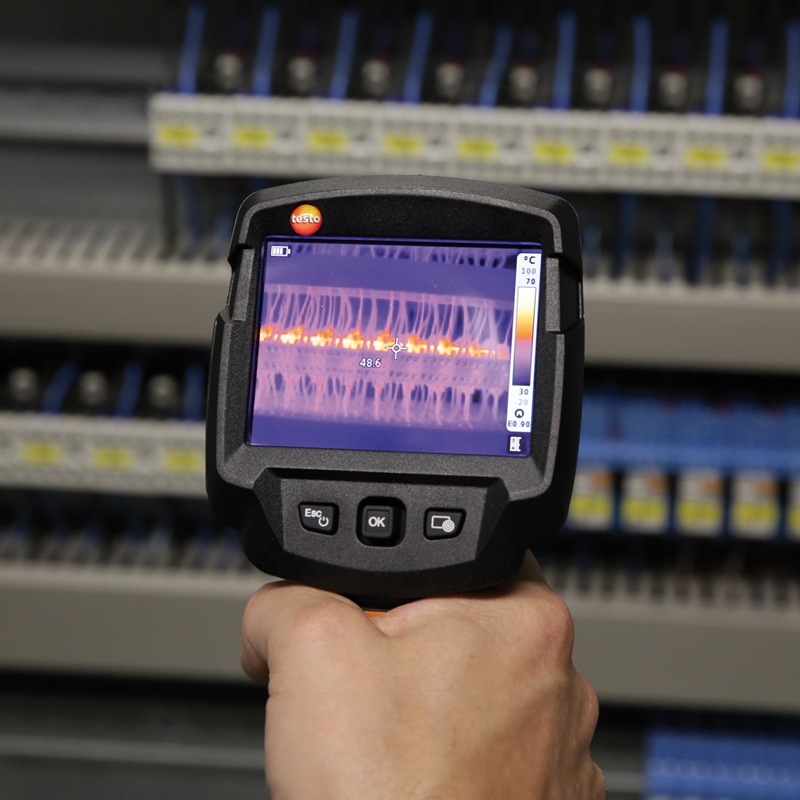
There are other unique aspects to consider before calibrating a tool like an infrared thermometer including ambient temperature: the environment of the testing facility or lab. The temperature in such facilities is often set at 23 degrees Celsius, with a 5-degree margin of error. Other facilities may have different temperature swings, but no matter what, knowing the ambient temperature around the testing area is critical.
When calibrating an infrared thermometer one element specific to radiated temperature readings is the concept of reflected temperature. Infrared optics are designed to give us the emitted energy that our human eyes cannot see. Radiation, therefore, can be reflected by unknown elements in the testing environment thereby affecting the reading results. In an effort to combat these elements of heat exchange, make sure the radiation sources aren't set up against fans, ceiling vents or other gaps that can cause heat loss.
Additionally, consider allowing the infrared thermometer time to reach room temperature. This should take a minimum of 15 minutes, during which you can set up the testing site with the specific calibration equipment.
Necessary equipment
Transfer standards: To test for accuracy you must start with an accurate tool. You will need a control probe or another highly calibrated IR gun that has been calibrated to a higher standard – ideally having been sent to and verified by a national independent lab.
Thermal radiation source: These units are typically referred to as black bodies and are defined by an approximately zero reflected ambient radiation. Whether you're using the flat plate or IR cavity model it's important to note the size of the radiation source, as that will come in handy when you're calculating the distance between your tool and the radiation. If you're using more than one black-body unit, make sure they don't face each other, as this could pass radiated energy back and forth and impede the reading. Additionally, it's paramount that these units not be placed in the vicinity of air drafts caused by HVAC systems or similar ventilation sources, as well as other instruments that could emit radiation and throw off results. If airflow continues to be a problem, a diffuser may be necessary.
Partition: To undermine any additional radiation sources outside of the target that may be emitting heat a partition can be used to limit how much the optics of an IR thermometer can be impacted and better ensure an accurate reading.
If a thermal radiation source is unavailable or out of the budget, an IR comparator cup can be a simple and inexpensive alternative to a black body. Additionally, if either of the alternatives aren't available, a properly made ice bath can be used. While measuring the boiling point with an infrared thermometer may be problematic due to other factors like condensation as well as variables in air pressure and elevation, the surface of a properly made ice bath is a solid 0 Celsius.
Mounting device: This tool allows you to get a stable measurement setup while maintaining alignment and measuring distance. Consider using a tripod, fixture or hand.
Distance measuring device: The distance to spot size ratio that you must maintain can be determined with a tape measure or measuring rod.
Ambient temperature thermometer: An accurate thermometer allows you to monitor the conditions of the testing site like temperature and humidity level. It also can alert you to changes due to AC or other ambient temperature. It's important to set the temperature and then allow it to stabilise before testing can begin.
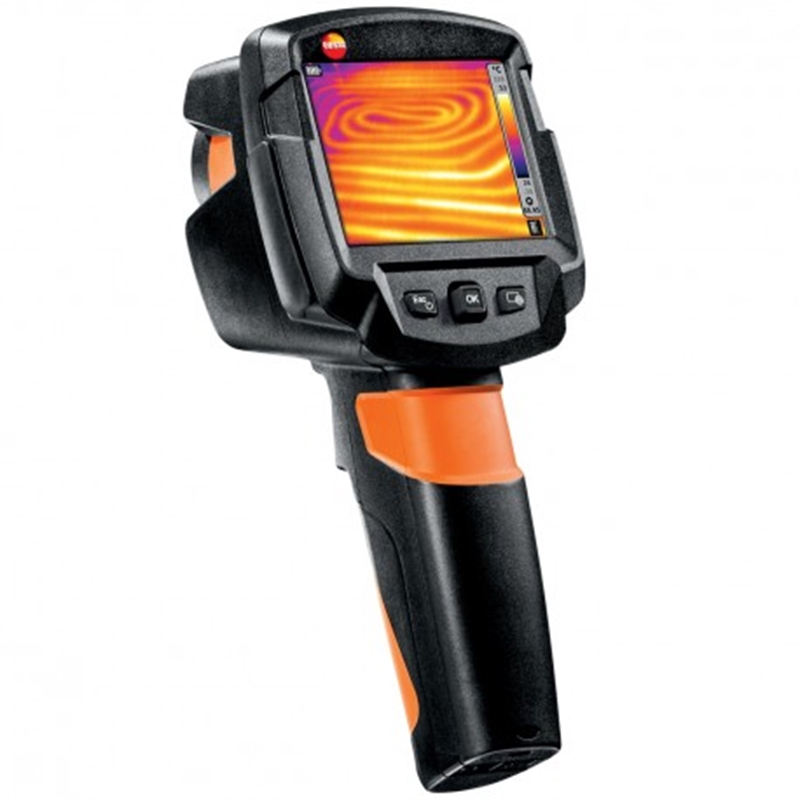
Calibration procedure
Once the prep work has been completed and data points have been obtained, it's time to test! Firstly, calibration points should be tested based on the range of temperature for which you're calibrating the IR thermometer: If they're over a wide range of temperatures, a minimum of 3 calibration points should be used, while a narrow range requires only 1 or 2 points. A good rule of thumb is to go from the lowest calibration point to the highest.
Set the IR thermometer reflected temperature (if available) and align the unit to maintain a set distance – as well as the field of view, so that everything is level. This enables the entire optic to look at the source, which should be straight on in front of the device. The IR thermometer should be no more than 5 degrees from normal to target the ideal surface area.
Once the thermometer is set and aligned take the measurement! A good rule of thumb is to take multiple readings and base those measurements on the 10 times the IR thermometer response time. So if the IR thermometer reading is achieved in .5 seconds, keep the device held for 5 seconds.
Report findings
Whether for an external client or regulator or internal audit a clear paper trail and record of calibration of equipment is key. These records should include:
- Name and address of laboratory as well as those running the test
- Unique ID of the calibrated infrared thermometer
- Method used
- Date of calibration
- Results (including any measurement uncertainties like source temperature versus IR thermometer readout temperature, adjustments etc.)
- Measuring distance
- Emissivity settings of the infrared thermometer and for the source if needed
- Diameter of the radiation source
- Ambient temperature and humidity of the testing environment
A well-calibrated IR thermometer can maintain accuracy in every facet of its use and can impact the processes its readings rely on. As such, regular maintenance and testing is key to keeping an IR thermometer working properly and accurately.


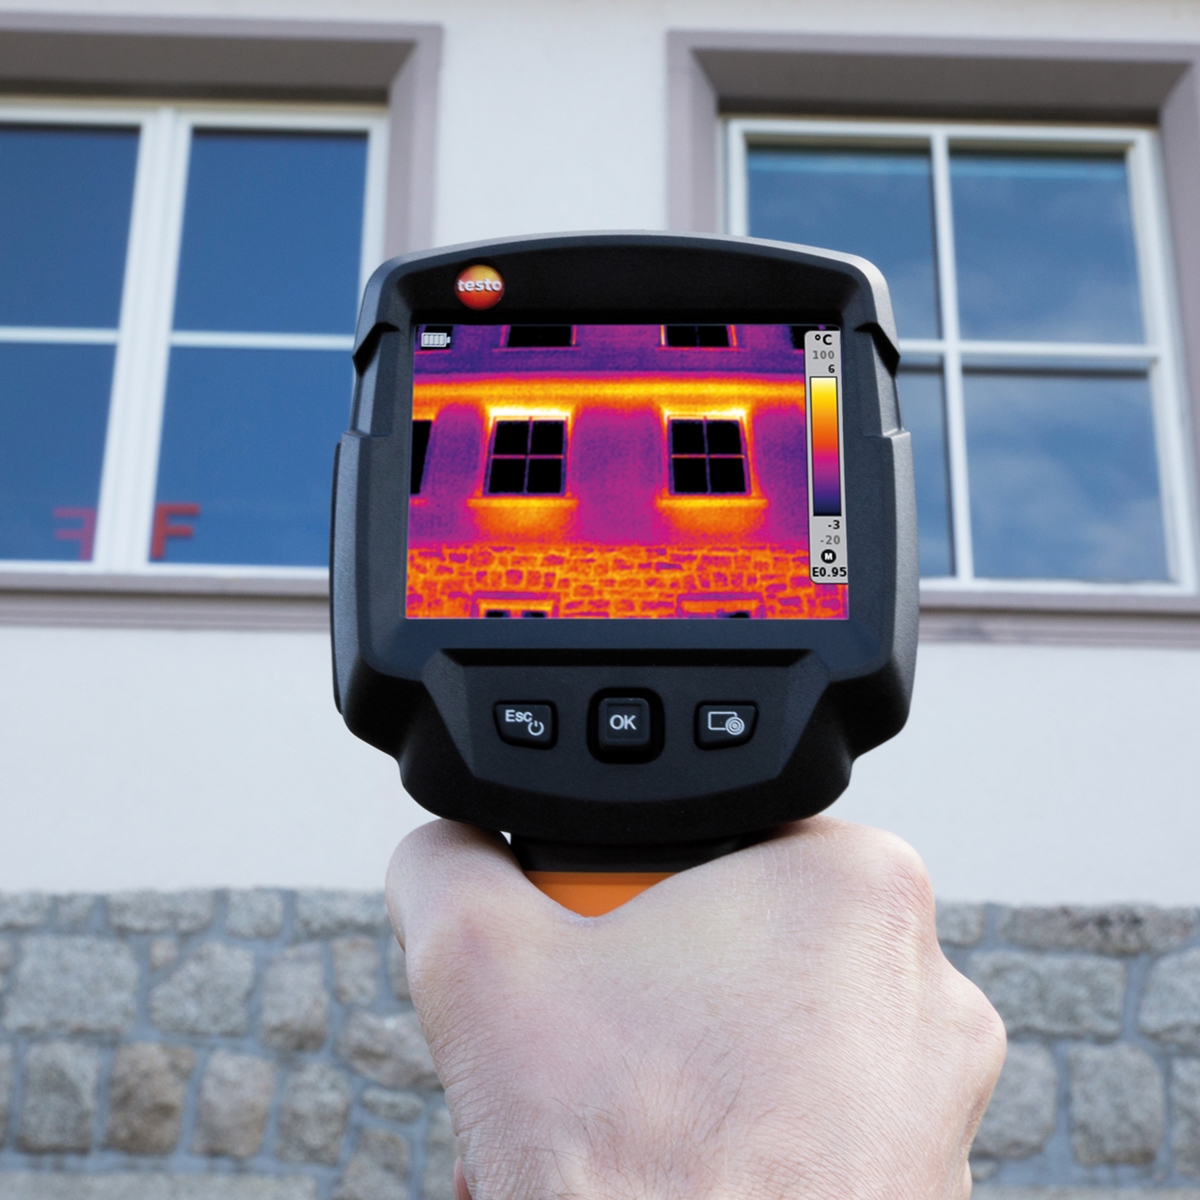


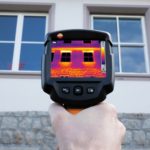

 Reduce cooking oil costs while ensuring quality
 Expert knowledge on CO2 monitoring
 Refrigeration knowledge - in 3 modules


